WebSphere Service Registry and Repository( WSRR )
- WebSphere Service Registry and Repository (WSRR) provides both a registry of Services as well as providing a repository capability to store documents that hold further metadata to detail them.
WSRR is not limited to Web Services, and can support services defined using a variety of other protocols and programming models. By using the customization capabilities provided it can also be used to define and store Service at a more conceptual level, such as Business Services. Customization can also be used to define the metadata and documents to describe just about any SOA asset type so these can also be stored in WSRR as well as their relationships to the Services.
WSRR also provides a customizable SOA lifecycle, together with Policy Management function that can be used to provide governance over the Service metadata and lifecycle within WSRR.
wants to receive. The request defines the topic, the filter, and the subscription point of each publication.
Messages that are published by a publisher can be received by more than one subscriber, and a subscriber can receive messages, on the same or different topics, from more than one publisher.
Uses of WebSphere Service Registry and Repository( WSRR )
- Registry and repository is used to find, publish, manage, and subscribe to services with the assurance that the underlying policies associated with correct usages of these services are enforced and governed. It supports the following functions:
( I ) Publish : Add new services through an approval process so they are available and managed on an enterprise-wide scale. Services can be WSDL, XML, or schema definition.
( II ) Find : Search for services based on any of the metadata associated with the service.
( III ) Enrich : Add value to your SOA processing by adding information to enrich service artifacts. This information can be used during the Find stage.
( IV ) Manage : Provide customizable processes to manage the lifecycle of services in the registry, enabling access control, promote/retire, and change analysis to services through impact analysis.
( V ) Govern : Provide a central point of overall governance within your enterprise-wide SOA.
Installing and configuring WSRR is a multistep process that requires you to plan and make decisions before you start to install. Use the guidance here to help you make these decisions.
The following diagram shows the major steps required for getting WSRR installed and configured.

1. Assess database requirements
WSRR uses an RDBMS to host the registry and repository. You can use one of the following RDBMS for this purpose:
- DB2 Universal Database™
- DB2® for z/OS® v8
- DB2 for z/OS v9
- Microsoft SQL Server
- Oracle 10g
- Oracle 11g
- Derby (stand-alone server only)


2. Assess system requirements
You can adopt a number of configurations for WSRR: stand-alone, stand-alone with remote database, managed server, or cluster. The configuration is implemented by WebSphere Application Server, and you need knowledge of WebSphere Application Server to set up more complex configurations such as clusters.
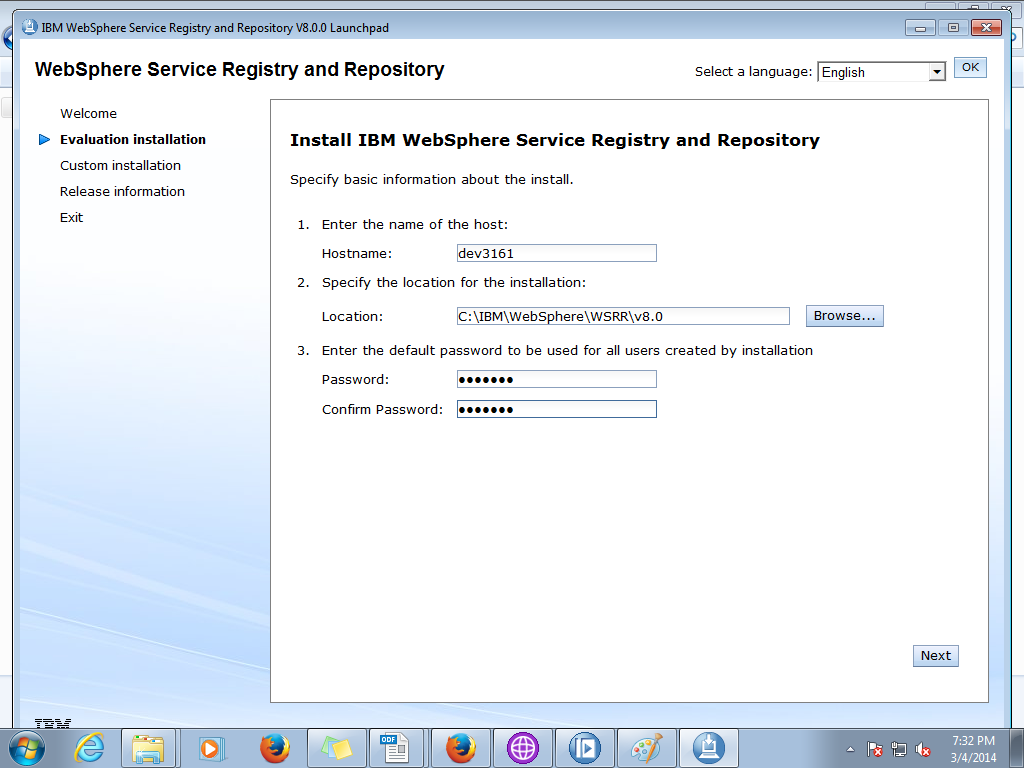
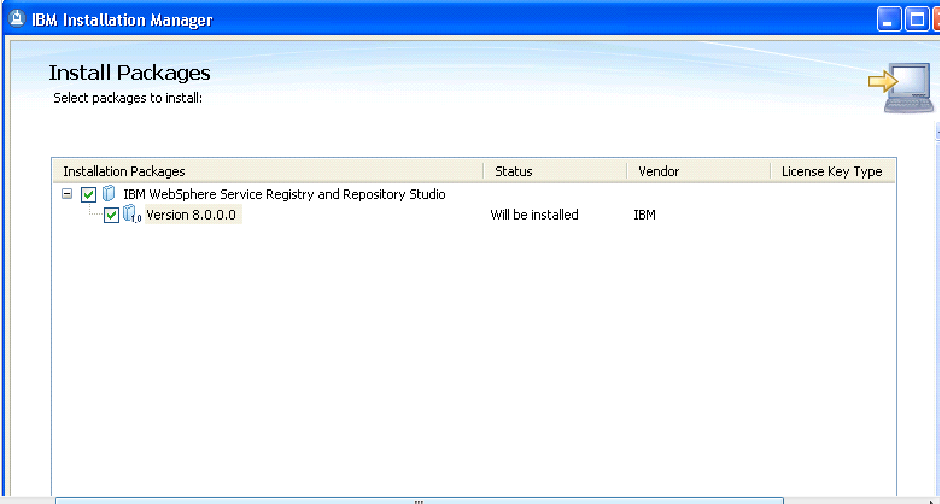
3. Install WSRR
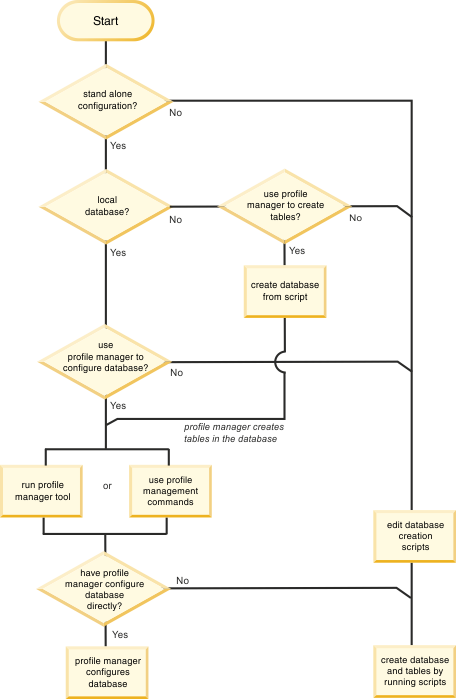
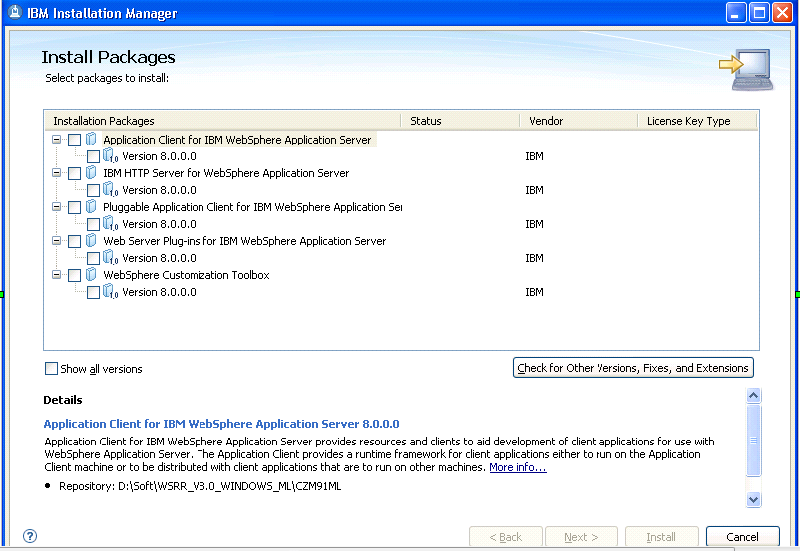
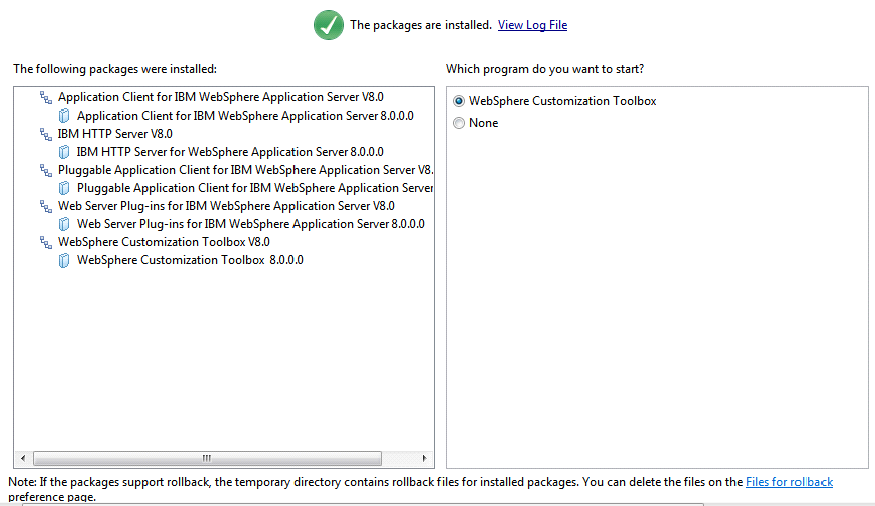
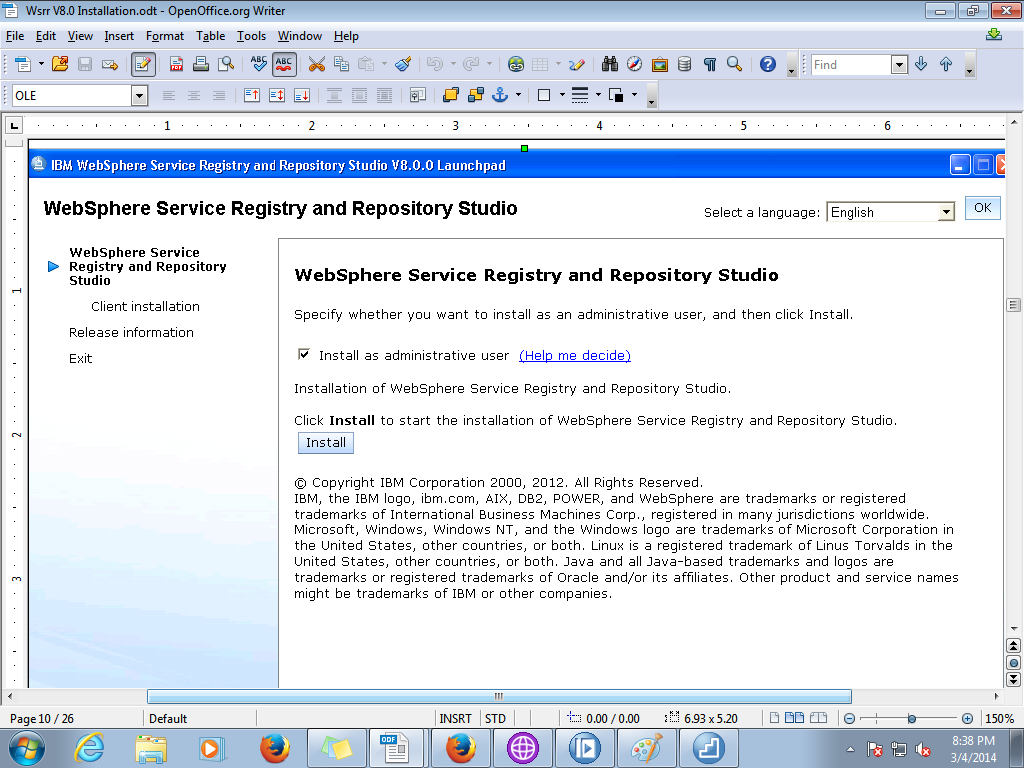
The following figure illustrates the process of installing WSRR on a stand-alone system and identifies the tools that you use to complete the different stages of installation and configuration if you install interactively.



4. Create or augment profile
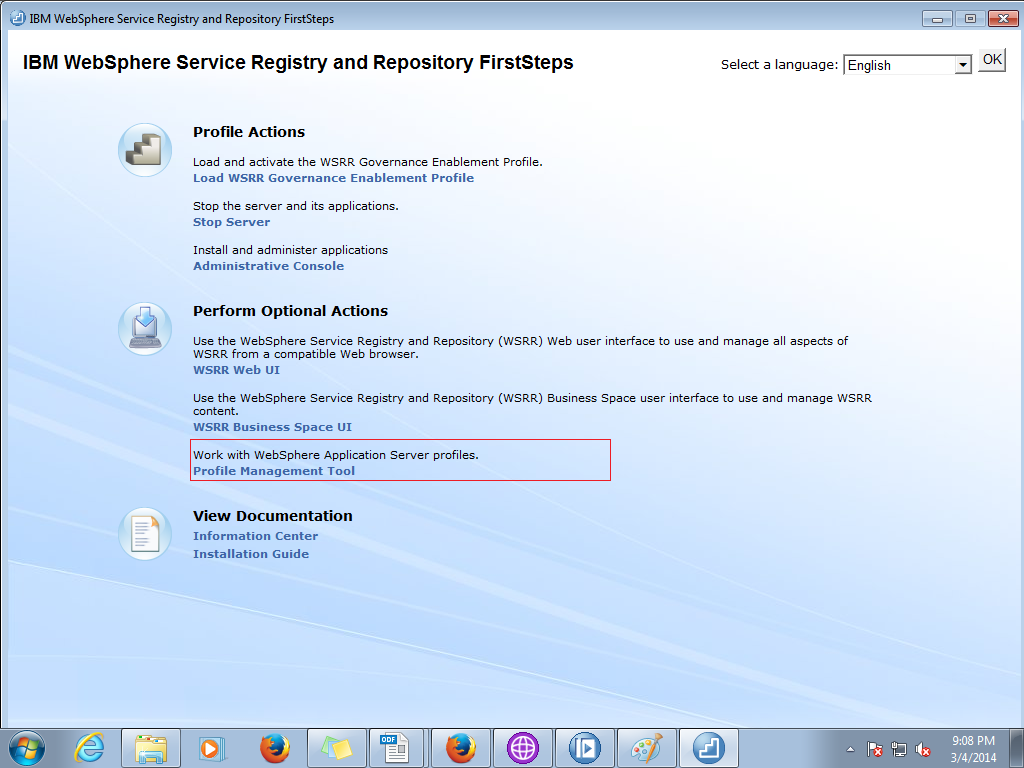
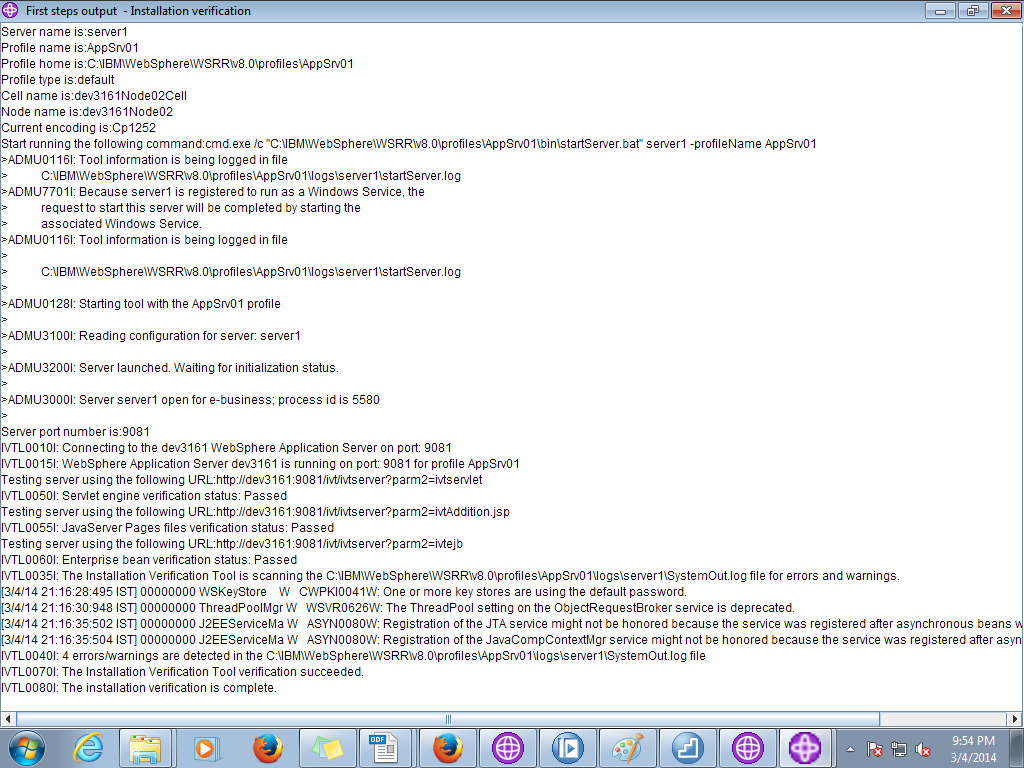
After you have installed WSRR on a standalone system, you can create a WebSphere Application Server profile, or you can augment an existing WebSphere Application Server profile to include WSRR. You might, for example, already have a WebSphere Process Server profile on your system, and you can augment this profile to add WSRR.
The simplest scenario is to create a WebSphere Application Server profile on a stand-alone system that uses Derby for the WSRR database. In this case you can use the Typical profile creation in the Profile Management Tool. If you are configuring a stand-alone system with one of the other supported RDBMS, then you must use the Advanced profile creation, so that you can supply details about the RDBMS that you are using.
When you install WSRR on a cluster or federated node system, you must set up the system first. You then augment the existing Deployment Manager profile to include WSRR. To augment the profile, you use the Advanced profile creation facilities of the Profile Management Tool.


5.Load and activate a configuration profile
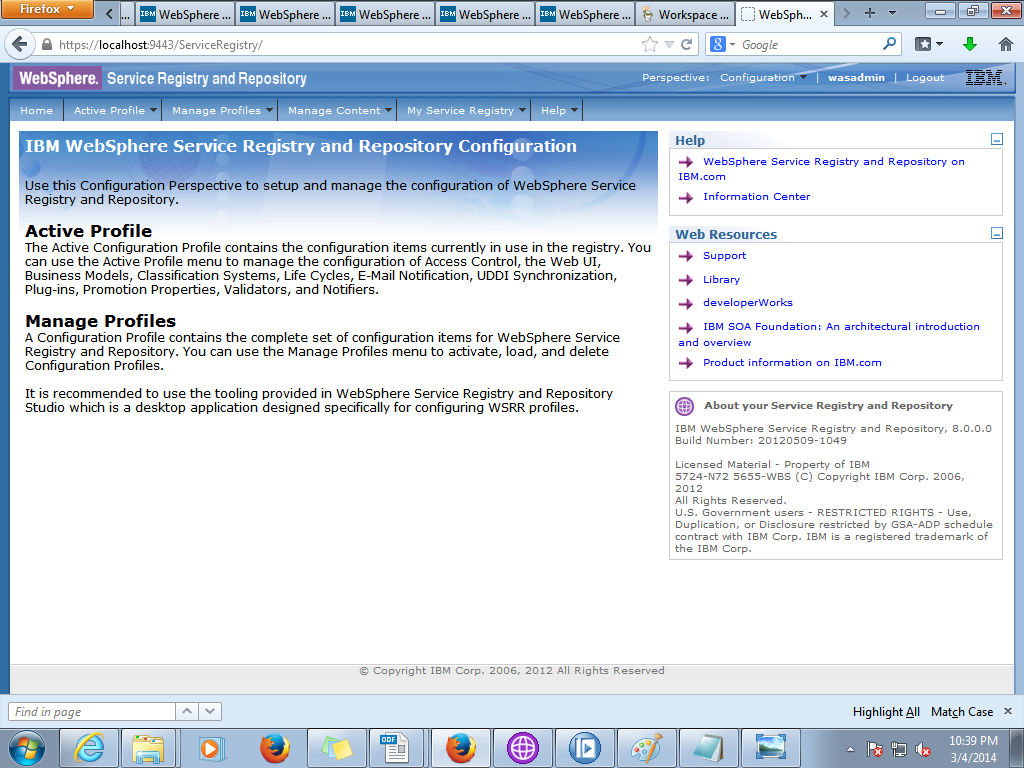
The final action to take before you start using WSRR is to load and activate a configuration profile. See the topic Configuration profiles for guidance.
The configuration profile defines the capabilities of your WSRR system. Two configuration profiles are supplied with WSRR: the governance enablement profile and the basic profile. The governance enablement profile provides component models, lifecycles, governance policies, security controls, and web user interface commands that enable you to implement a complete governance process. You can load and activate the governance enablement profile from the First Steps console that opens when you have installed WSRR.
The basic profile is suitable for use with a runtime WSRR system, such as can be used in conjunction with a product like WebSphere Enterprise Service Bus.

You can also provide your own customized configuration profile. For example you could add your own lifecycles and governance policies to the governance enablement profile. (WSRR Studio provides a graphical interface for designing customized configuration profiles.)
Configuration profiles :
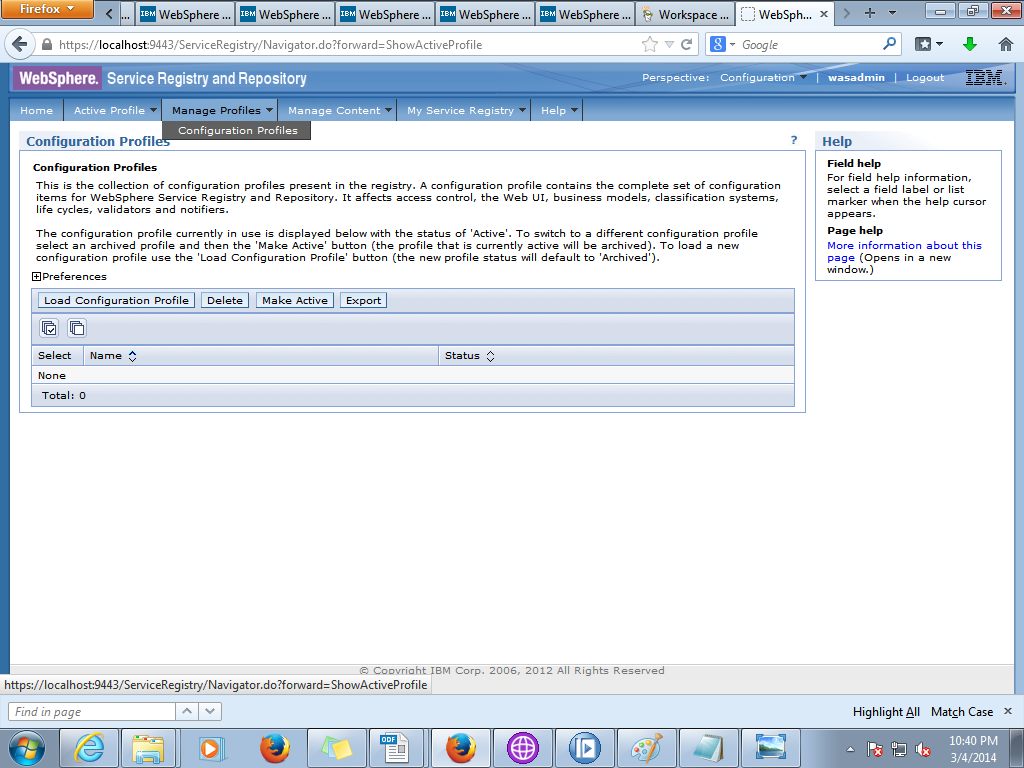
A WSRR configuration profile contains a complete set of WSRR configuration files. Configuration profiles are used for backup, restore and management of entire sets of WSRR configuration.
A WSRR configuration profile contains:
Web UI views
To display registry content in a way that is suitable for its intended use.
Roles and perspectives
User roles, and web UI perspectives to support those user roles.
Classification systems
To support your user-defined models, business domains and technical domains of relevance.
Lifecycles
Appropriate to the service lifecycle and its governance.
Configuration of user-defined validators, modifiers, and notifiers
To implement governance policies.
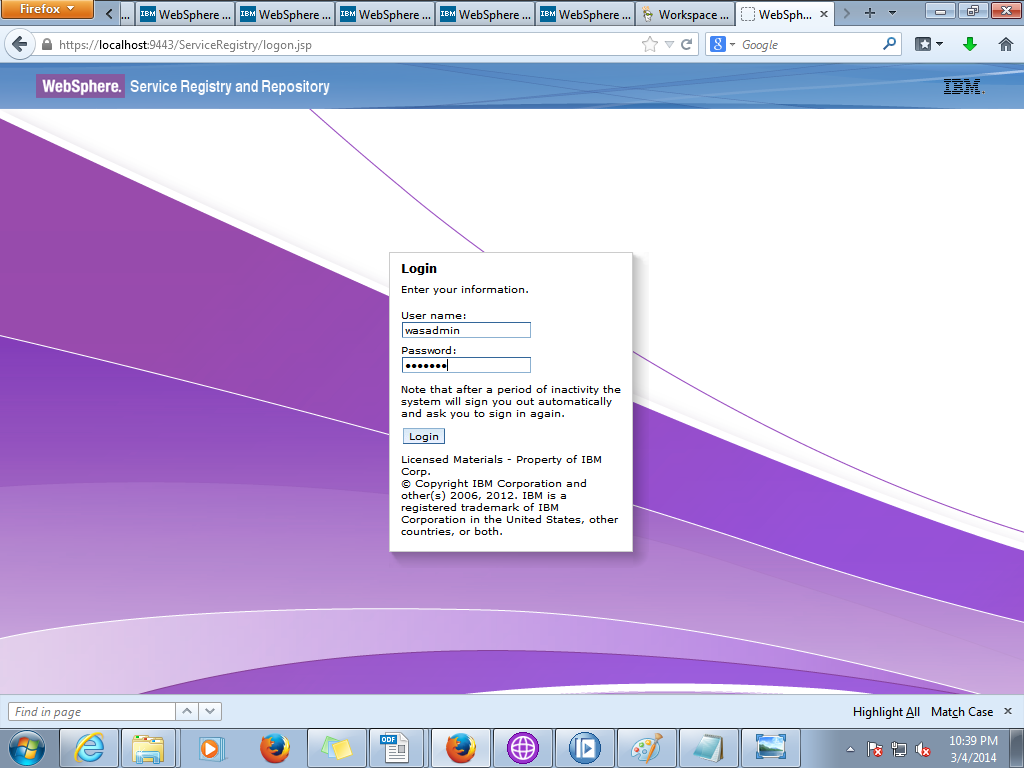
Loading a configuration profile :


Loading Some Service(wsdl) in to WSSR :